So you're a vintage computer collector, and if you're like me, you're always looking for a deal on an old system, hoping to find one that doesn't need a lot of work, so you can just dive in and start playing with it. When I was a kid, I couldn't afford to just go out and blow $500 here and there for a new computer or accessory. The Computers I owned when I was a teenager in the 80's were few and sadly, I never got the computers I wanted because they were not affordable. I started out with a TRS-80 color computer, because at $400, it was the only one i could afford. I had seen the Timex ZX-81 that a friend of mine got, but I wasn't impressed with the way you programmed it, or it's performance. My friend felt the same way. He got it because it was cheap, and he was curious. I eventually got an Atari 800XL, when the price wars between Atari and Commodore made what was once a $1000 investment be had for $150. Then I got a PC clone.
Fast forward almost 40 years, and I ended up becoming a collector, and I now own many computers that I never got to see or own back in the day. As a collector, you sometimes have to deal with computers that you have no previous experience or knowledge of. For example, I have a Sinclair Spectrum (several different models, in fact) but they are all from the UK, so I need adapters for power, as well as video. I also don't have much software for it. I avoided trying to get everything going, because of the utter mess of wires and adapters that doing so involved. The same is true for some of my other computers. I never owned a Commodore 64, but I did have an SD card with nearly all of the software ever released for it. I read up and learned how to LOAD "*",8,1, and run software from the SD reader I got.


Well, ALMOST like the good old days. See, since you're using a USB port and a USB media stick, things will happen much faster than the good old days -- no more waiting several long minutes while things load or save. It's all instant now -- I'll bet that disappoints a lot of people...


I found that the C-64 Max really gives one the best overall experience, with the exception of being able to use old peripherals. Since you use a USB-media device to load software into it, you can't hook up a floppy drive and save your old programs to a USB device. However, there are SD-card readers that you can plug into your old Commodore 64, and convert floppy media from a floppy drive to the SD card. In any case, the C-64 Max is really what most of us Raspberry Pi users want to do with most of our broken vintage machines -- it simply does it in a well-thought-out, well-presented and easy user interface. The emulator on both the Mini and the Max are flawless, too. It's highly unusual for something to crash or not work; they did a great job writing the software. The programmers really were huge commodore 64 fans, and made these products as a loving tribute to the technology.

Oh, I forgot to mention that there's a BONUS FEATURE in the C-64 Max and Mini -- They have a VIC-20 mode, as well. Along with the Commodore 64 Native mode, the C-64's have a VIC-20 natuve mode that brings you the glory of the older brother of the Commodore 64, in all of it's blinding white background of 20x12 text! If you have VIC-20 programs stored on USB memory devices, you can run them on the C-64. It's a really neat feature that literally makes it 2 computers in one.


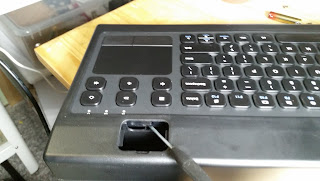
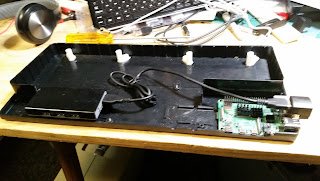
The SBC on the inside looks very similar to the one in the C-65, just with daughter-boards for the USB ports, which were oriented differently than the C-64.


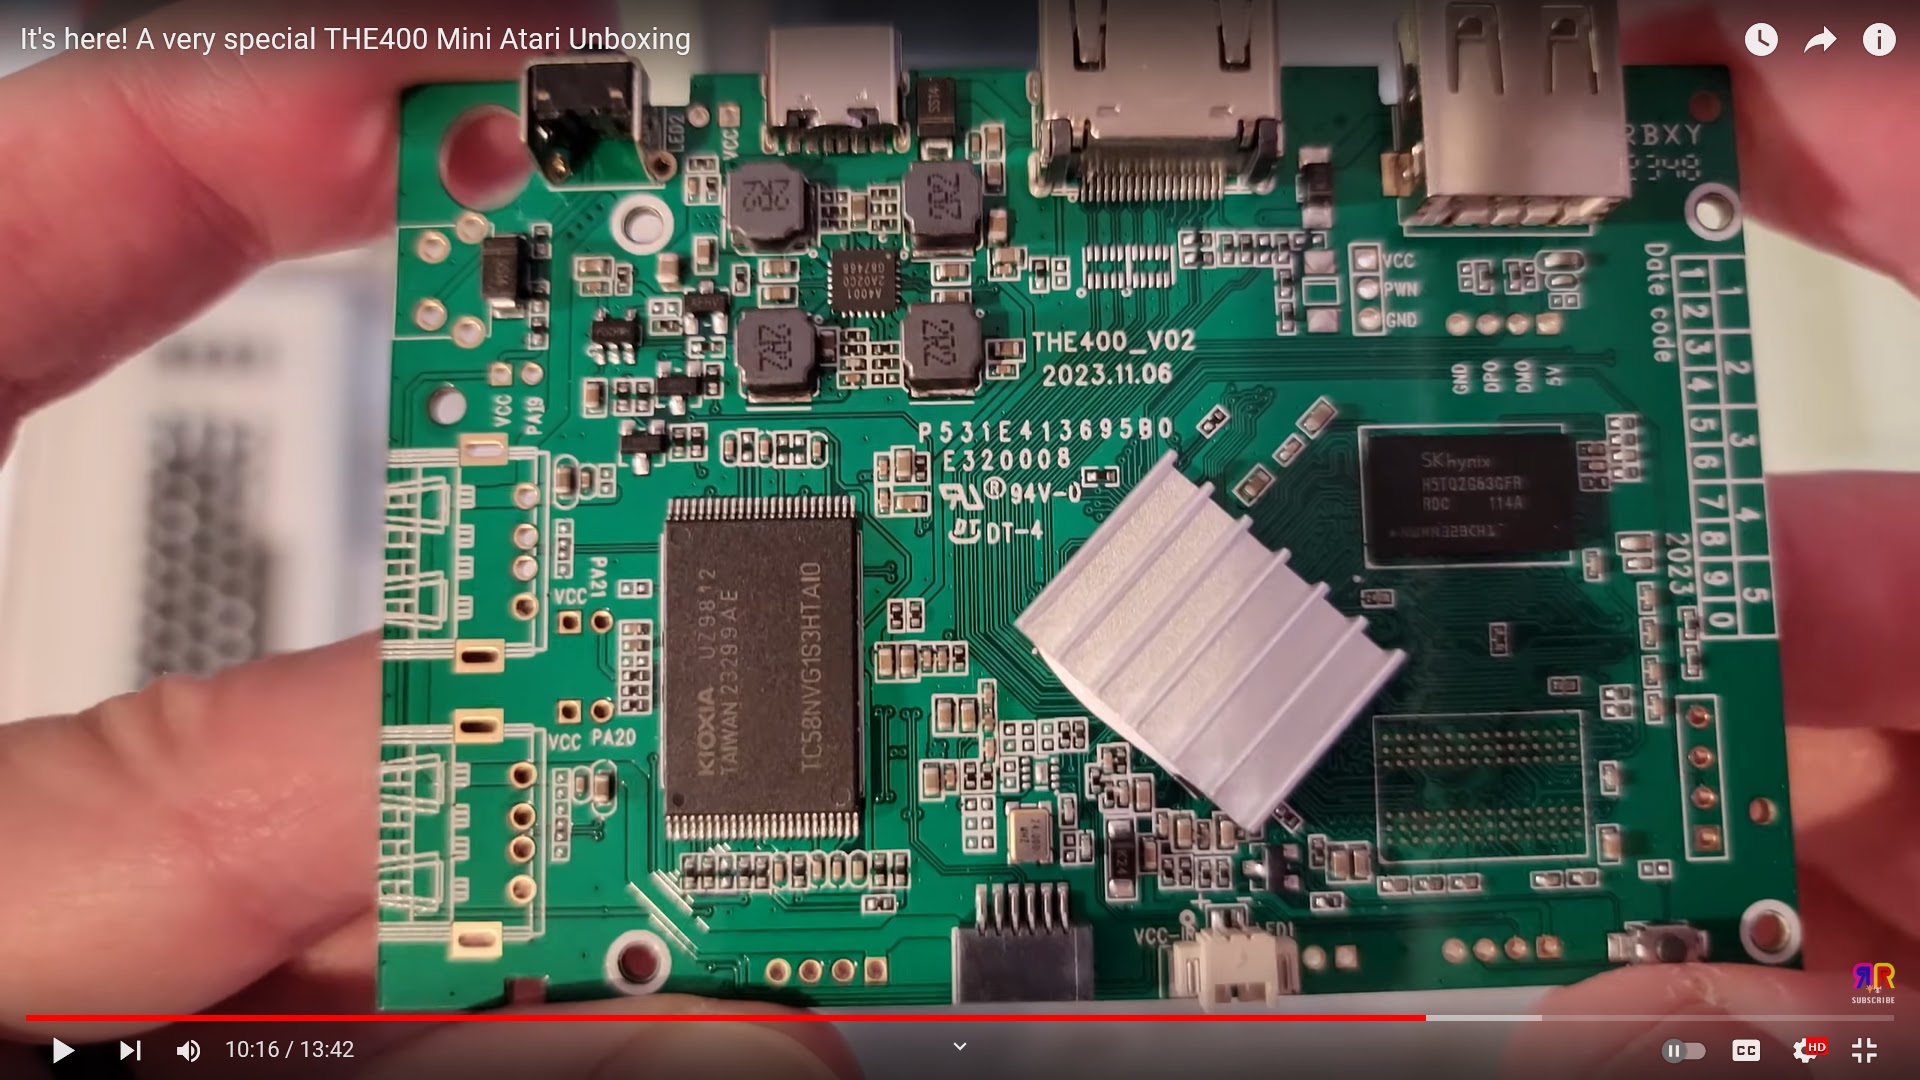
So, as I mentioned above, the A500 mini was sort of unexpected. It came with an Amiga-style mouse and a game controller, plus we wre talking about 16-bit software instead of 8-bit, so I assumed they had to use a more powerful SBC. But the mouse and game controller obviously were much cheaper to make than I thought, and the SBC on the inside was using the same SOC (System On A Chip) as the A400 Mini. So it didn't end up costing twice as much. As with the previous mini recreations, the software was brilliant, and the games carousel worked pretty much the same.
What you will miss (but only temporarily) is that the A500 does not have a mode similar to the A400 and C-64 computers -- You do not get Amiga-DOS or Workbench. However, this is not a huge problem, as fans have already (literally just weeks after it was released) come out with "Aminimiga", which is a disk image of the Amiga Worbench. I never had an Amiga, and have already been spoiled by PiMiga 4.0, so I don't mind the missing workbench.
As with all of these mini-computers, the games included on the A500 mini are least loved, possibly crappiest games available -- but you can still find Amiga software that can be loaded onto USB media, and run. Naturally, for me, Lemmings was the first game I had to run, since the PC version has terrible sound. Overall, as long as you go read up on which controls the different games use, you should be fine. I'm pretty sure that there will be no A500 Max, but this little computer does exactly what it was meant to.


As with the A500 Mini, I had no experience with the Sinclair Spectrum. The Spectrum is not a mini, since the original Spectrum itself was a mini computer. So this is a full-size replica of the Sinclair Spectrum. The SBC inside of it is mostly the same as the previous computers, and boast an exact replica of the original rubber keyboard. You can boot into the games carousel or into Spectrum BASIC, to find out how annoying it was to program on a real Sinclair Spectrium. The Sinclair Spectrum was a $120 computer when it first came out, and as the direct descendant of the black-and-white ZX-81, which was a $99 computer, the Spectrum added color and sound.
The way you programmed a ZX-81 and a Spectrum, as well as most of the other Spectrum computers, was different than all other computers at the time, and since. Rather than just start typing your code, the Spectrum forced you to hunt for the BASIC commands on the keyboard, and use the CAPS/SHIFT or SYMBOL SHIFT, to select a command, letter, number, or special character from the keyboard, and you would assemble your lines of code piecemeal. It was especially hard unless you took the time to memorize the location of all the commands, symbols, and arguments on the keyboard. Sinclair managed to make the computer super-cheap, not just by using cheap (and few) parts, but by saving RAM by leaving out things, such as the space a BASIC interpreter stored your text before you ran the program, and it assembled your code into a runnable program in memory. It's interesting to try it, and you really have to admire all the people who managed to write games and useful programs on a Spectrum.
At under $100, it's actually less than the original cost of them when they were new, and though most of the software available for them is sub-par, it's an interesting piece of computer history, in that Sinclair took a completely different approach with his computers than all the other manufacturers did.
Retro games has made a number of awesome retro computers that appeal to both vintage collectors as well as video game enthusiasts can enjoy. They are thoughtfully designed, both hardware and software, and they are inexpensive, and provide easy access to retro computers, and running software on them is a breeze. I can't wait for the next "MAX" or full-sized Rero Gmes creation. It would be great to see an 800XL Max, or maybe a TRS-80 model 1, 3, or Color Computer. I think Apple would probably sue them if they made a mini version of the Apple 2e. A full-size Amiga replica would likely be too expensive, but I hope they keep doing what they're doing.